SketchUp for Design
Tutorials, News, Book Companion Materials


Tutorials and News
Latest Posts
Easy 2D Space Planning in SketchUp and LayOut
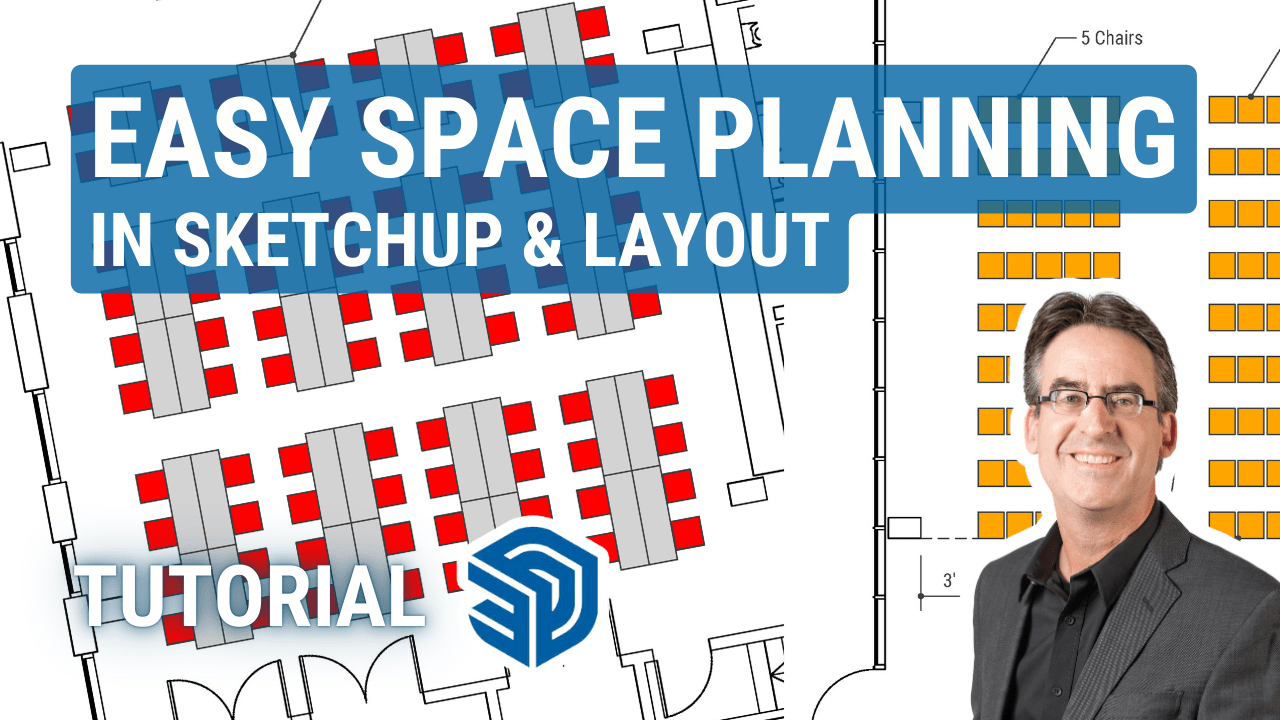
We don’t always need to work in 3D. Space layout planning for interior design, event planning, facilities management, etc. is often easier and faster in 2D. As it turns out, we can do this quite effectively in SketchUp’s 3D modeling environment or on LayOut’s 2D sheets, without even creating a full 3D model.
Printing To-Scale in SketchUp (My 2024 Update)
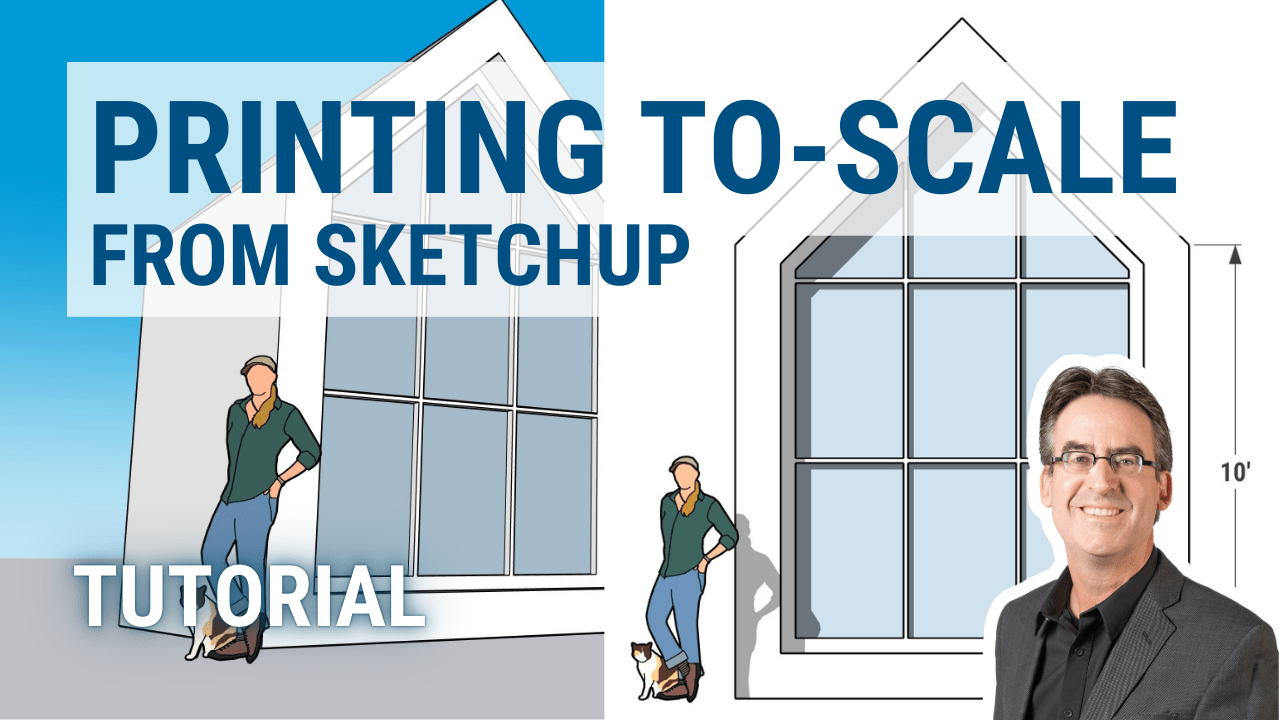
In this tutorial video I describe various ways how you can print scaled, parallel-projection views from SketchUp for Web as well as SketchUp Pro/Desktop (where I will be using the LayOut software).
I cover all the relevant aspects and then show how you can use the PDF file format as an intermediate print file format. This video is an update to my older one on this topic. Since that video was posted, SketchUp for Web has been introduced and printing in SketchUp Pro/Desktop has changed. Hence the need for an update.
Save a SketchUp File as an Older Version (Ruby Snippet)
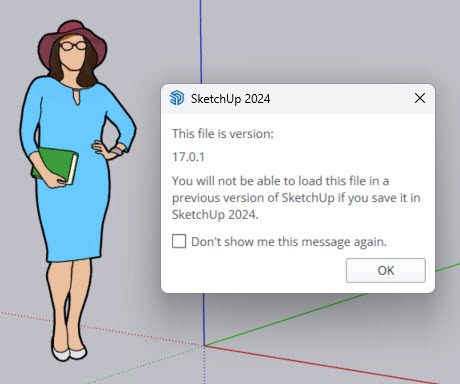
SketchUp 2024 removed the option to save files in all previous version formats, now only offering a version-less format from 2022. A Ruby script workaround lets users save to older versions.
Random Tutorial Selection
Creating Variation in Textures for Rendering (Ruby Snippet)
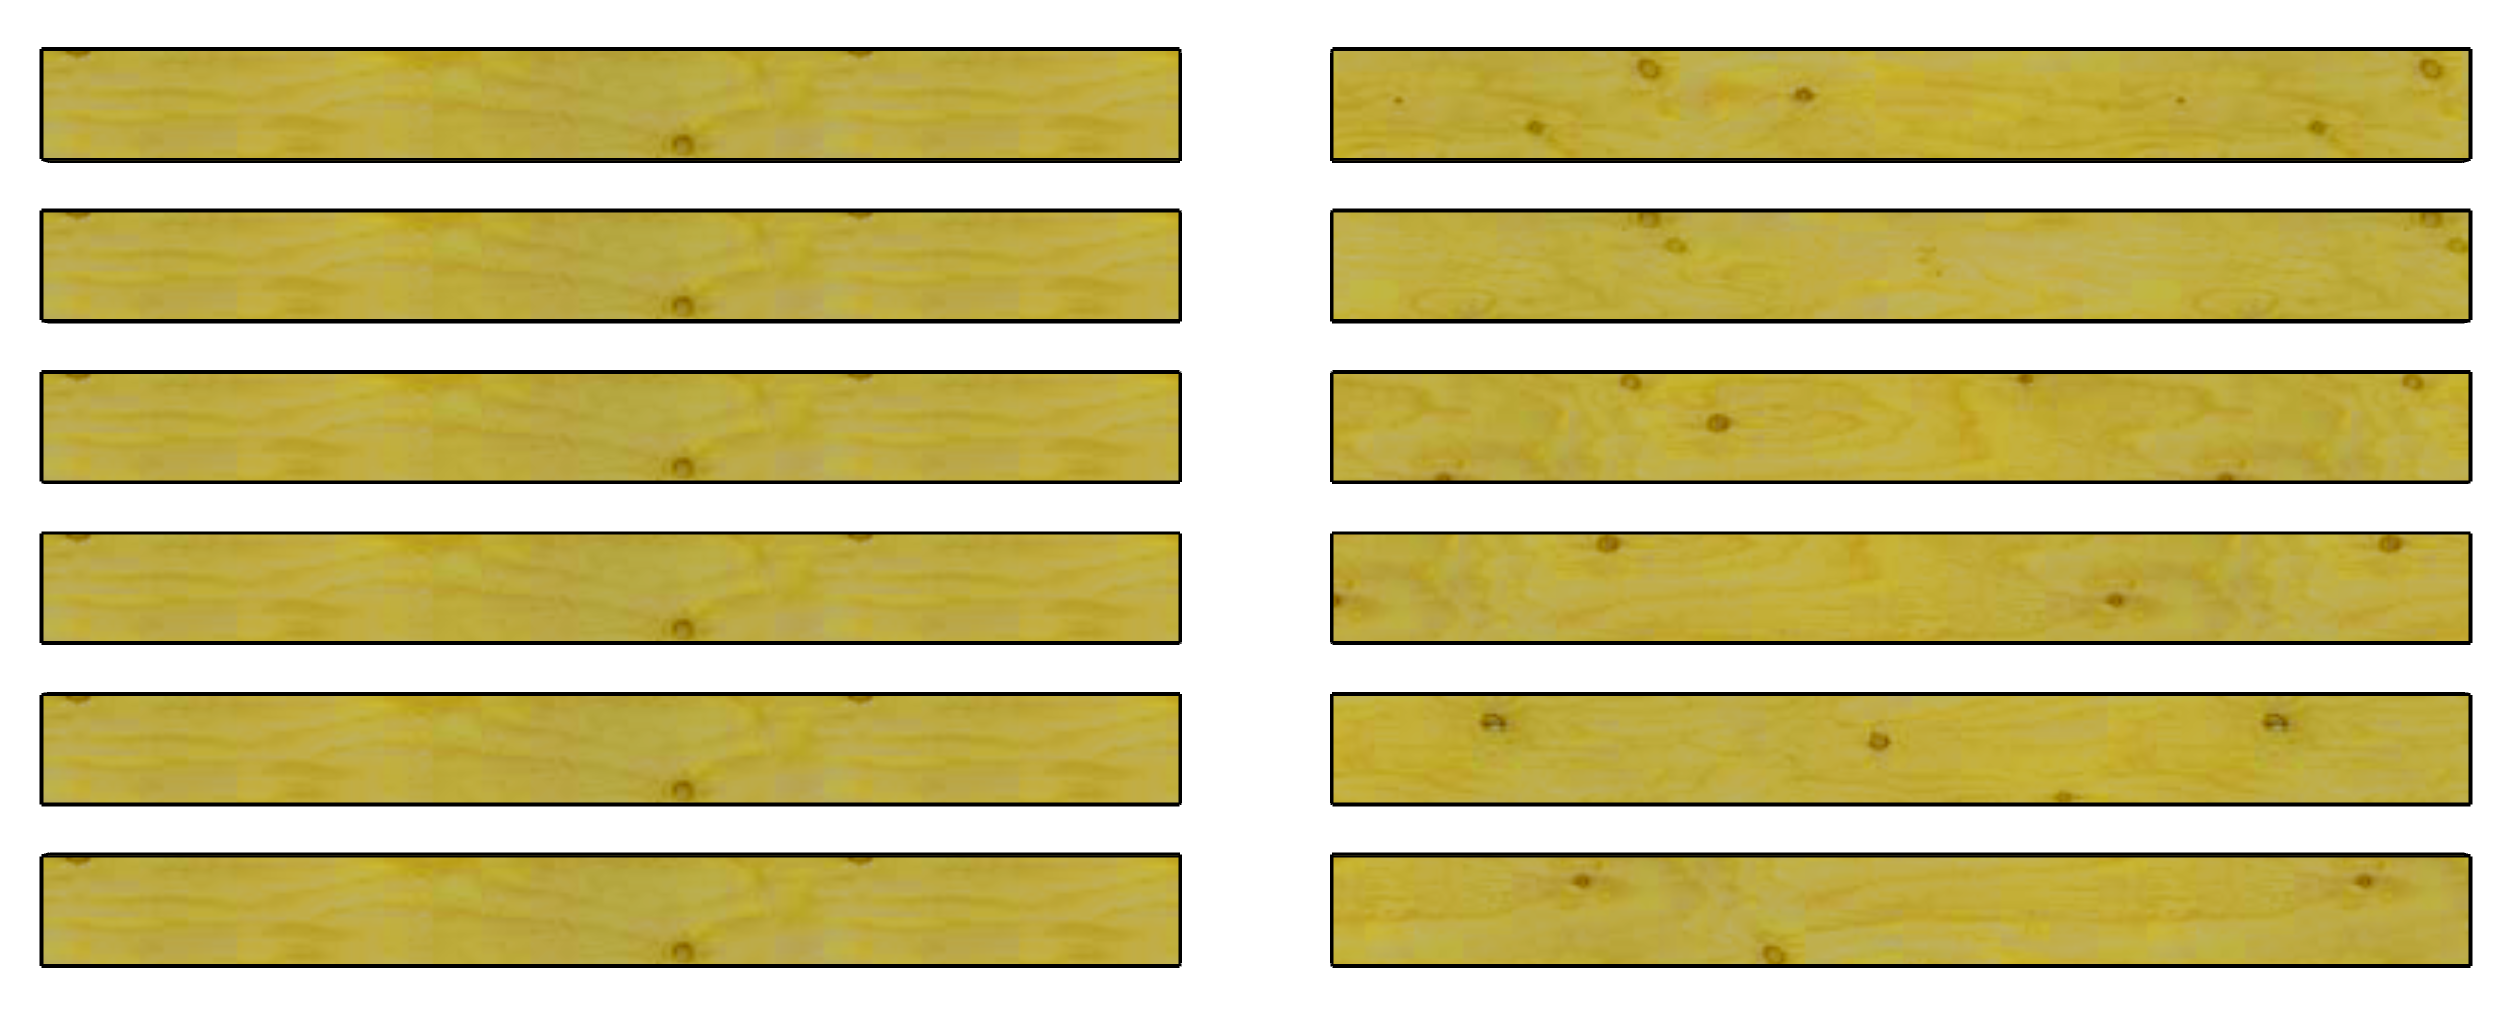
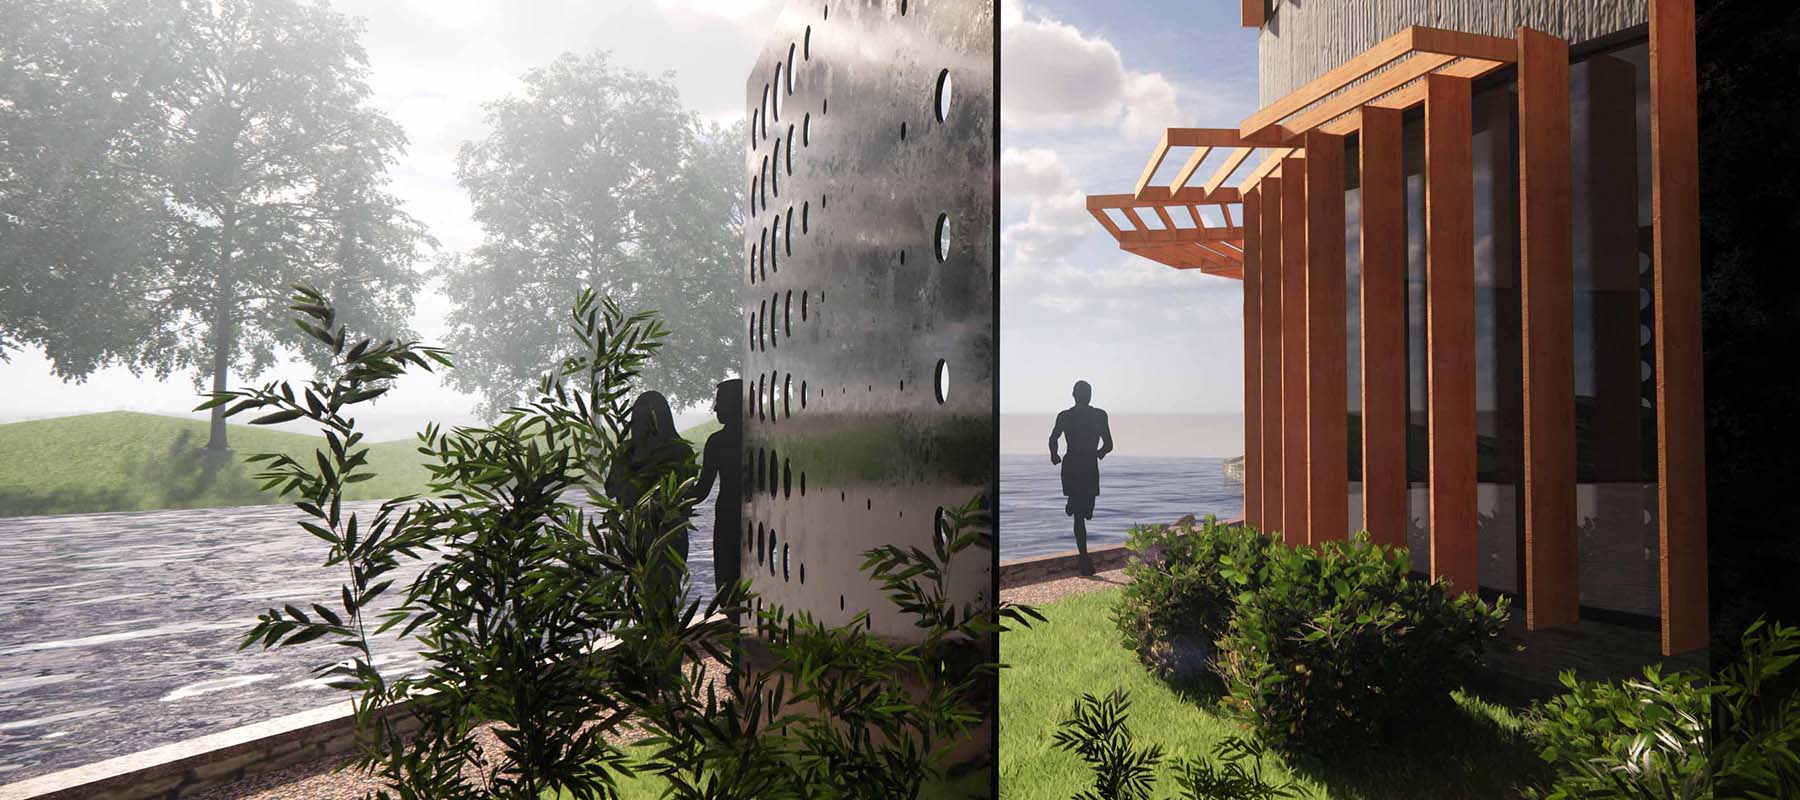
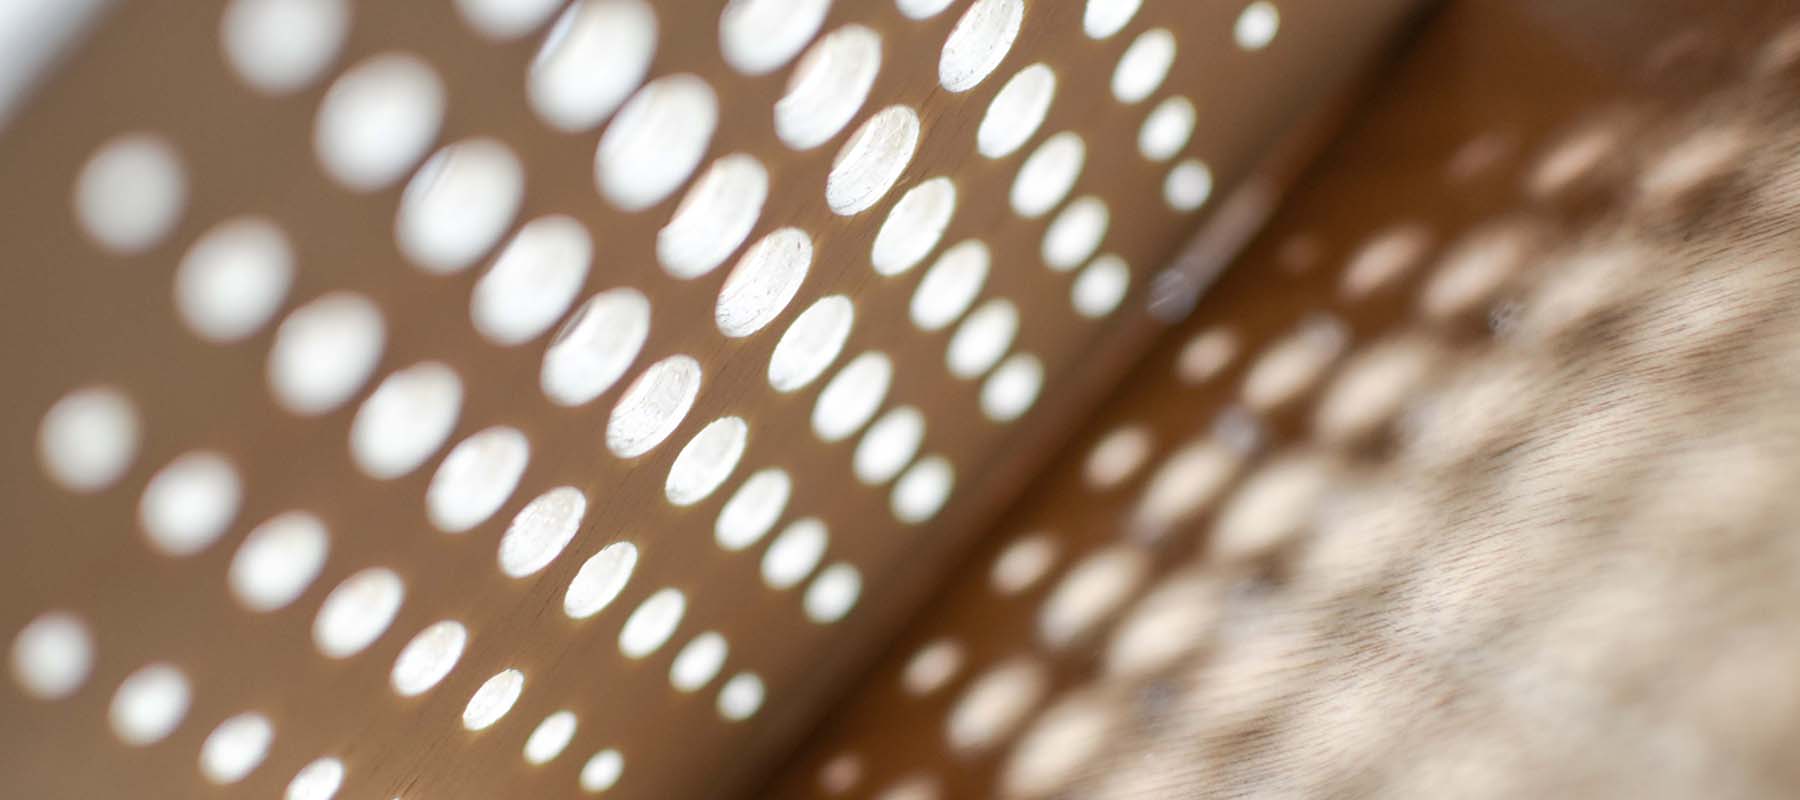
This post follows a theme that I explored in several other of my script examples as well: Copied objects in SketchUp don’t appear overly realistic if they represent natural items; their geometry is simply too perfect. This is true for landscape items (trees, shrubs) but also for things like wooden boards (see left side in the image above): On a collection of real boards, the knots would be distributed somewhat randomly, not as shown here.
Turn yourself (or a loved one) into a vase (Video)
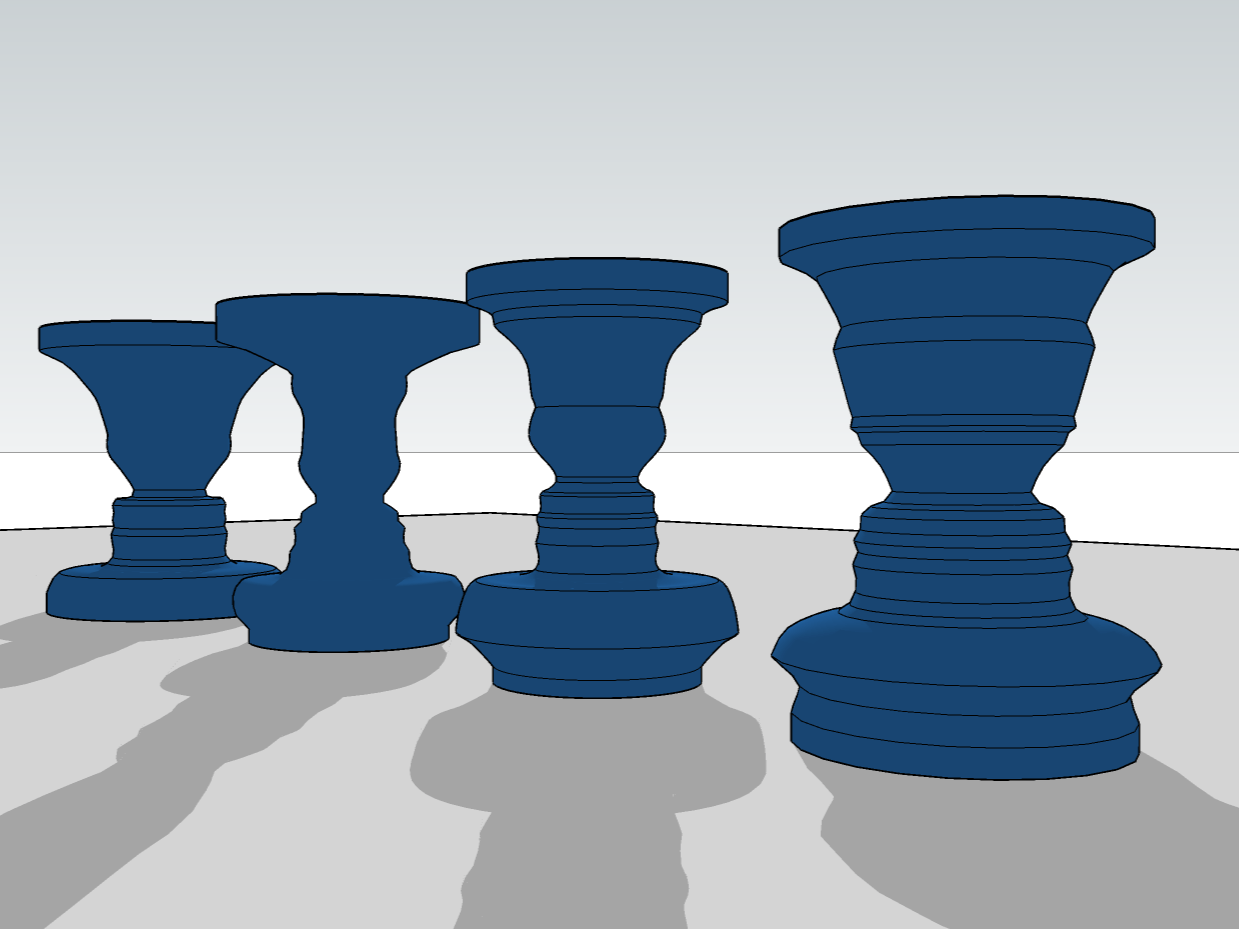
The video tutorial demonstrates using SketchUp to transform portraits into 3D objects like vases or candle holders; ideal for personalized gifts. Advanced shape-morphing techniques are also shown.
Floor Flatness Check in SketchUp with Point Clouds
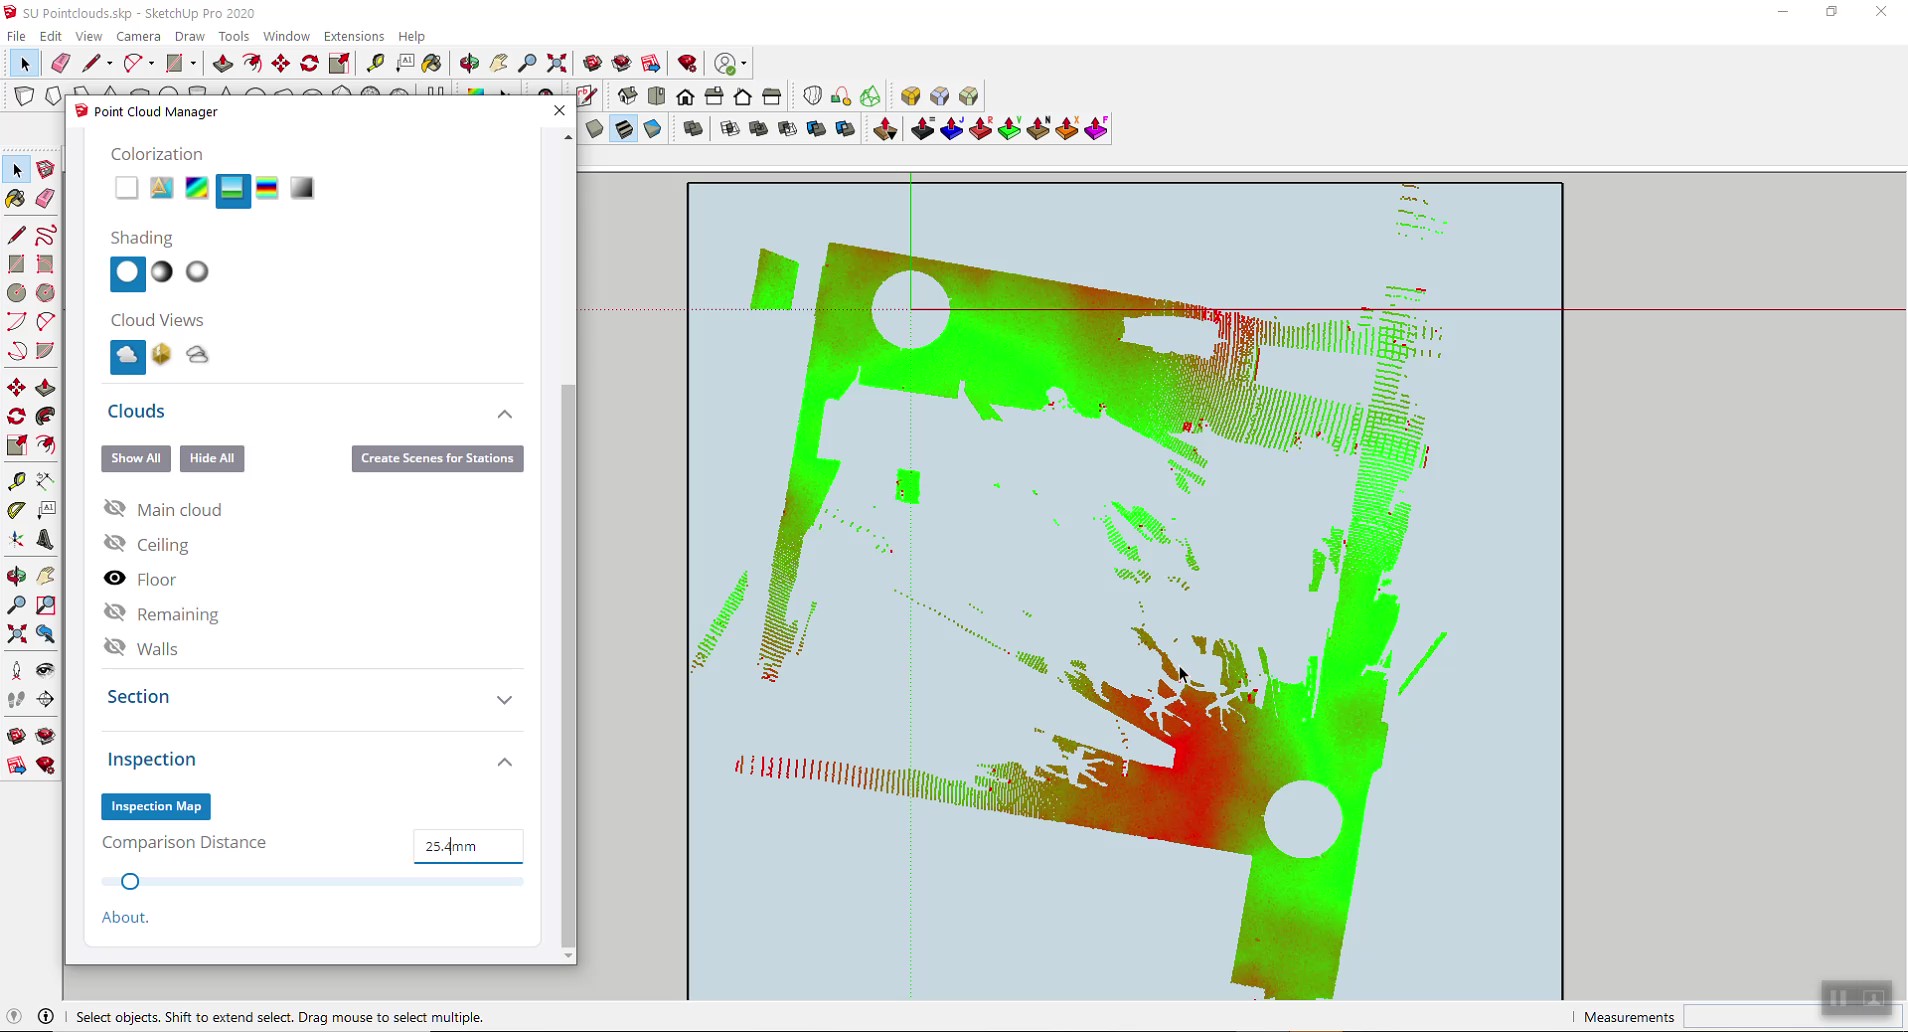
In today’s post and video, I am using this tool to perform some analysis with the same 3D point cloud data that I introduced earlier (a scan of our classroom). I am basically checking how level the floor in our classroom really is by using what is aptly called a “floor flatness analysis”.