Creating a popsicle stick firecracker craft is a fun and easy project perfect for celebrating holidays like the Fourth of July. It’s a great craft for all ages.
Difficulty level:Beginner
Time to complete:25 minutes
Age range:12 and up
Things you’ll need:
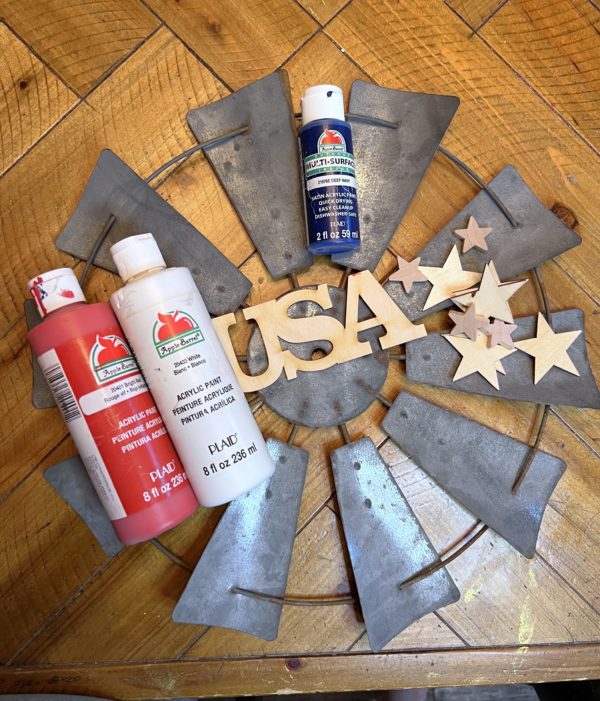
Jumbo Unfinished Wood Craft Sticks
Unfinished Wood Triangle Cutout
Bright Red Apple Barrel Acrylic Paint
Award Blue Apple Barrel Acrylic Paint
DecoArt Glamour Dust Gold Glitz Glitter Paint
500 yd Bright Red Curling Ribbon
Metalic Star Beads
Scissors
Paint Brush
Vaseline and Q-tip
Hot Glue Gun and Sticks

Let’s grab your supplies, channel your inner artist, and let get crafting!

First you will take your popsicle sticks and line up 4 together. On this project, i used the jumbo popsicle sticks.

To help secure them together, i grab another popsicle stick and cut it in half. Take those halves and glue on each end a crossed the 4 lined up. This will be the back end of the firecracker.


Grab your wooden triangle cutout and glue at the top of the grouped popsicle sticks.

Once they are all glued together, you can then start painting. With this being firecrackers, we wanted to stick with the Fourth of July colors. Here is where i had my daughter join in. She chose to paint one red and the other blue. The triangles, we painted a with theDecoArt Glamour Dust Gold Glitz Glitter Paint.

With my daughter being 8 years old and wanting to use the hot glue gun for her stars, i had to come up with a idea to help keep her hands and fingers safe!

This is where i grabbed the vaseline and a Q-tip. I got one end dipped into the vaseline and this was able to grab ahold of the star bead to allow her to place safely onto the firecracker with the hot glue.

Glue the star beads on the painted area in whatever design you wish!

Now we get to make the flames off the end of the firecracker. I took our red curling ribbon and cut 6 stripes for each firecracker. Tied them together and took the scissor end to help curl the ribbon.

You will then hot glue the curled ribbon onto the backing of each firecracker. Let dry and you are all set! Glue some sticks on them to create a floral arrangement pick, add to a wreath, or even glue them on a string for a garland.